



Free shipping when you order 2 books•Every 3rd hardback book half price

Free shipping from 2 books Every 3rd hardback half price

How to draw a horse: easy step-by-step guide

Draw a horse from the side in six steps. The head can be the trickiest part, so it gets a step of its own.

How to draw it, step by step

  1. Draw an oval lying on its side. This will be the horse's body.
    1Draw an oval lying on its side. This will be the horse's body.
  2. Draw two slanting lines upwards from one end of the body. This will be the neck.
    2Draw two slanting lines upwards from one end of the body. This will be the neck.
  3. Draw the head on top of the neck: round at the back and longer towards the muzzle.
    3Draw the head on top of the neck: round at the back and longer towards the muzzle.
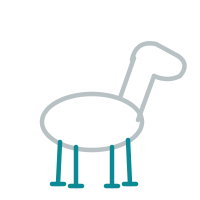
  4. Draw four straight legs under the body, with a little line at the bottom of each one for a hoof.
    4Draw four straight legs under the body, with a little line at the bottom of each one for a hoof.
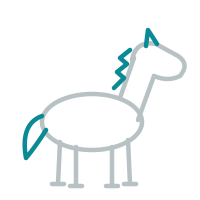
  5. Draw a zigzag line along the neck for the mane, an ear on top of the head and a long tail at the back.
    5Draw a zigzag line along the neck for the mane, an ear on top of the head and a long tail at the back.
  6. Draw the eye, nostril and mouth.
    6Draw the eye, nostril and mouth.

The drawings and sheets are free to print at home, preschool and school, but not to sell.

Your child’s drawing can be the hero of a book

Photograph the drawing and upload it instead of a photo of your child. The story is written around the character, and the illustrations are painted to look like it on every page, from the cover to the final spread.

Tips for horse lovers

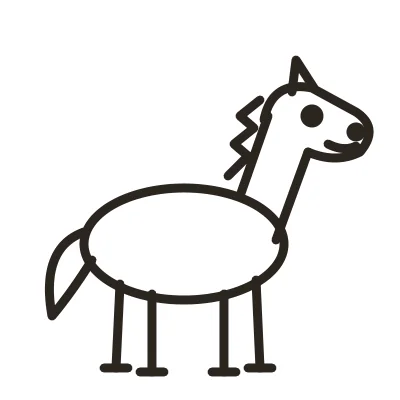
Draw the legs slightly different lengths to make the horse look as if it's walking. Give it spots, a long curly mane or a saddle and reins to make it your own.

Add a horn to its forehead and you have a unicorn! For a softer-looking unicorn, try our step-by-step unicorn guide.